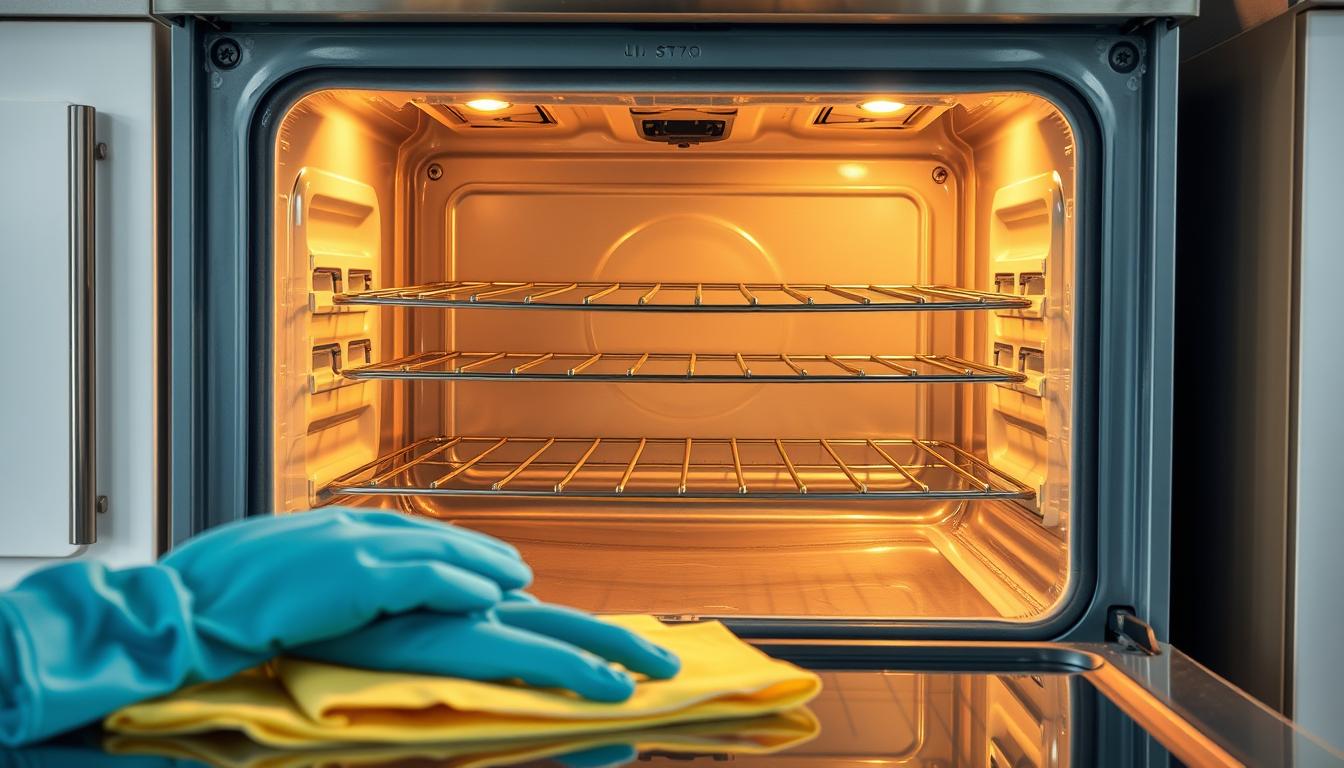
ELFA Cleaning LTD shares a friendly, practical guide for UK households to restore cooking kit to top condition. This short intro explains simple methods and a safe process you can follow at home.
Regular attention reduces stubborn grease and grime. A baking-based paste or a gentle commercial product can shift tough dirt without harm when used with care and good ventilation.
We’ll show when to try a quick wipe, when a deeper process helps, and how to protect seals and glass to avoid streaks from excess water. Expect tips on timing, tools you already own, and safety steps so the task feels manageable.
Key Takeaways
- Routine upkeep prevents build-up and keeps cooking performance high.
- Natural pastes with baking soda and vinegar or lemon work well on grease.
- Use PPE and ventilate if you choose stronger, commercial products.
- Protect door seals from too much water to avoid clouding between panes.
- Fit this brief task into weekly plans to save effort and time.
Why a cleaner oven matters now: a present-day, step-by-step guide for UK homes
Small, regular steps save time and avoid harsh, high-heat cycles later on. ELFA Cleaning LTD focuses on quick, safe routines that actually shift grease and grime without risking fumes or damage.
What homeowners want: a practical method that works fast and keeps indoor air healthy. Use non-abrasive tools to protect glass and finishes. For heavier build-up, controlled dwell times with gentler scraping beat extreme heat cycles.
Soak removable racks in a sink or bathtub to reduce scrubbing. Ventilate well and follow label guidance when using any commercial cleaning products or professional oven services.
Simple steps that save time
- Decide if a baking-paste or a dedicated cleaner suits the job.
- Soak racks to let products do the work, not you.
- Sequence tasks: interior, racks, then exterior for a smoother finish.
| Task | Best product | Approx time |
|---|---|---|
| Light detail-clean | Baking soda paste | 20–30 minutes |
| Racks deep soak | Non-caustic oven cleaner | 1–4 hours |
| Heavier grime | Professional oven service or stronger products | 2–3 hours |
Before you start: preparation, safety and time-saving set-up
A little set-up makes a big difference and speeds the whole job. Gather supplies first so you won’t stop mid-task. ELFA Cleaning LTD recommends assembling kit before you begin to streamline the process and keep everyone safe.
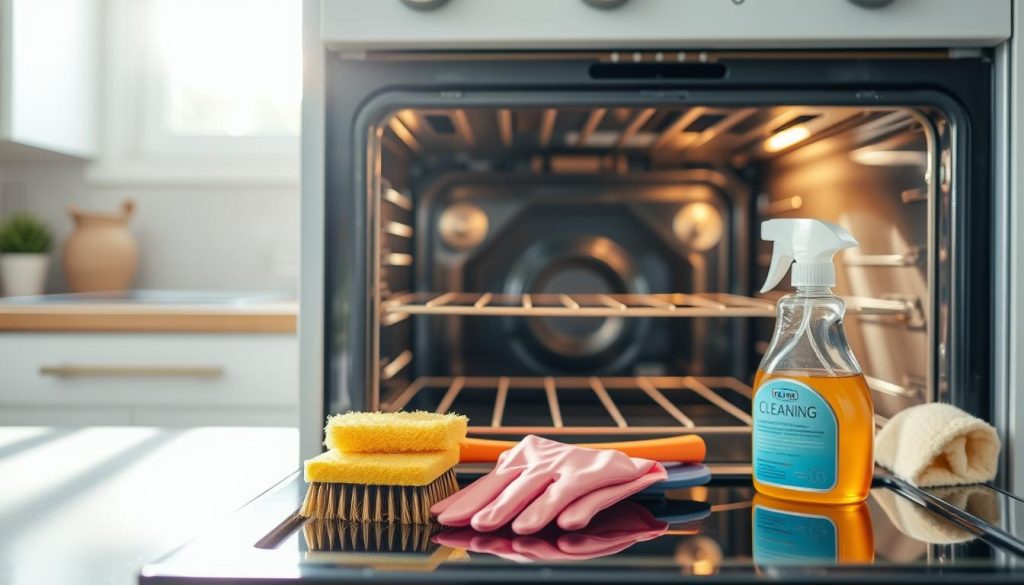
What you’ll need: baking soda, white vinegar or lemon, a plastic scraper, microfibre cloths, a non-scratch pad, gloves, a bucket of hot water and a small amount of soapy water. Remove any racks and trays now and place them to soak—use a sink or the bath if space is tight.
- Ventilate well: open a window and run an extractor, especially if you plan to use stronger oven cleaning products. Wear gloves and consider goggles for added protection.
- For a pro shortcut, preheat to about 80°C and then switch off; this gentle warmth softens burnt-on carbon in minutes for easier removal.
- Use only non-abrasive tools on the interior. Avoid overusing water near door seals to prevent streaks between glass panes.
| Step | Tip | Approx time |
|---|---|---|
| Assemble kit | Lay items out so you won’t interrupt work | 5–10 minutes |
| Ventilate & PPE | Open window, wear gloves; goggles if using strong product | 1–2 minutes |
| Preheat shortcut | Heat to ~80°C then switch off to soften carbon | 5–10 minutes |
| Soak racks | Use sink at an angle or bath for larger racks | 30–180 minutes |
How to clean inside/outside the oven, clean the grills and oven dish
Simple steps make this task quick and repeatable for UK kitchens. Below are safe, practical methods that balance natural paste solutions and non-caustic products while protecting finishes and seals.
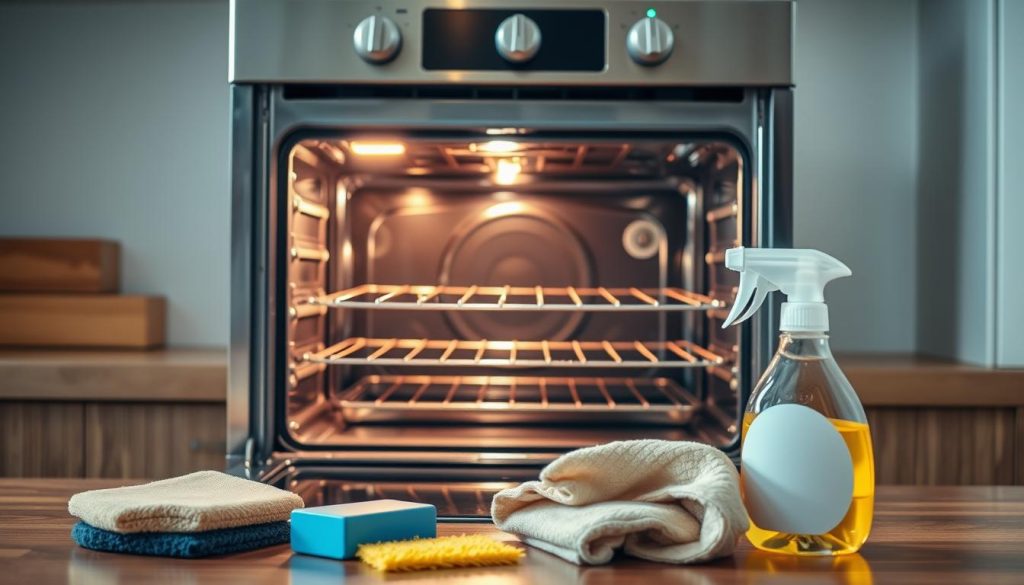
Method A: baking soda and vinegar paste for grease and grime
Make a thick paste by mixing 1–1.5 cups baking soda with enough white vinegar or lemon to form a spreadable mix. Brush out loose debris first and apply paste generously to greasy areas and door glass.
Leave for hours or overnight for heavy soils. Spritz with vinegar to reactivate, then scrub with a barely damp sponge and wipe residues away.
Method B: non-caustic oven cleaning products and dwell times
Choose a non-caustic oven cleaner and spray an even coat while the appliance is off and warm. Follow label dwell times (typically ~30 minutes).
Wipe using a well-wrung microfibre cloth and hot water, ventilating the room throughout.
Professional touch: blade and plastic scraper technique
Warm the interior slightly, then hold a plastic scraper flat to lift softened carbon. Move gently to avoid scratching enamel or glass. For stubborn spots, repeat product and dwell.
Rinse, neutralise and dry
Rinse residues with hot water, then use soapy water and a wrung microfibre cloth. Finish with clear water passes and a dry cloth to prevent films that can smoke next use.
Outside basics
Wipe external surfaces last with a gentle cleaner, avoiding control panels and seams. Buff stainless steel lightly with oil for a streak-free finish.
“Small, steady effort keeps performance high and reduces hard work later.”
Grills, racks and oven dish: targeted methods for faster results
ELFA Cleaning LTD streamlines care so UK homes get good results with minimal fuss. Start with a short warm-up to loosen baked-on food, then allow surfaces to cool so you can work safely.
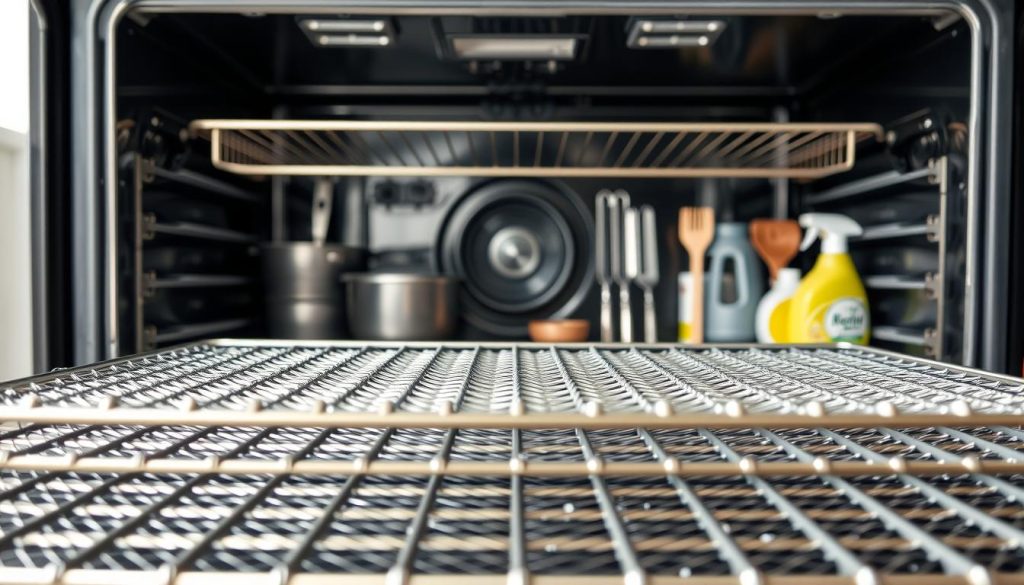
Loosen first
Heat the grill to about 100°C for roughly 15 minutes to soften deposits, then switch off and cool before handling. This reduces effort and the chance of damage when lifting debris from bars and corners.
Light-duty upkeep
For day-to-day maintenance, a bowl of hot water with washing-up liquid and a soft sponge lifts light soils fast. Wring the sponge so you avoid excess water near seals and controls.
Deep clean racks
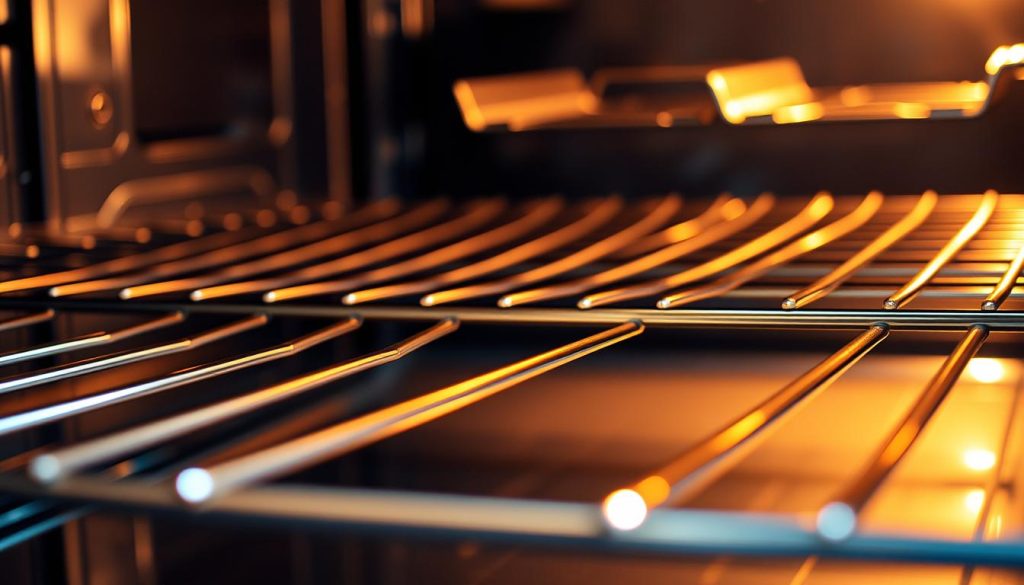
Soak racks in very warm water with a little cleaner. If your sink is small, place bars at an angle and rotate after 30 minutes, or use a bath so bars sit fully submerged.
Tip: Use steel wool only on metal racks that can tolerate abrasion; avoid it on coated surfaces.
Trays and dishes
Apply a non-scratch pad with a paste or a small amount of oven cleaner, scrub gently, then rinse with clean water and dry thoroughly. Drying prevents rust and odours that might transfer to food.
| Item | Quick method | Deep method |
|---|---|---|
| Grill bars | Warm 15 mins, cool, wipe | Soak, paste, scrub steel wool if metal |
| Racks | Hot water & washing-up liquid, sponge | Soak angled in sink or bath; rotate after 30 mins |
| Trays & dishes | Soapy water & soft sponge | Non-scratch pad with paste; rinse & dry |
Finishing touches: glass, exterior surfaces and reassembly
Take a steady, low-moisture approach to avoid streaks and trapped water between panes. A careful final pass protects seals and keeps every surface looking smart. ELFA Cleaning LTD recommends gentle, precise finishing so results last longer.
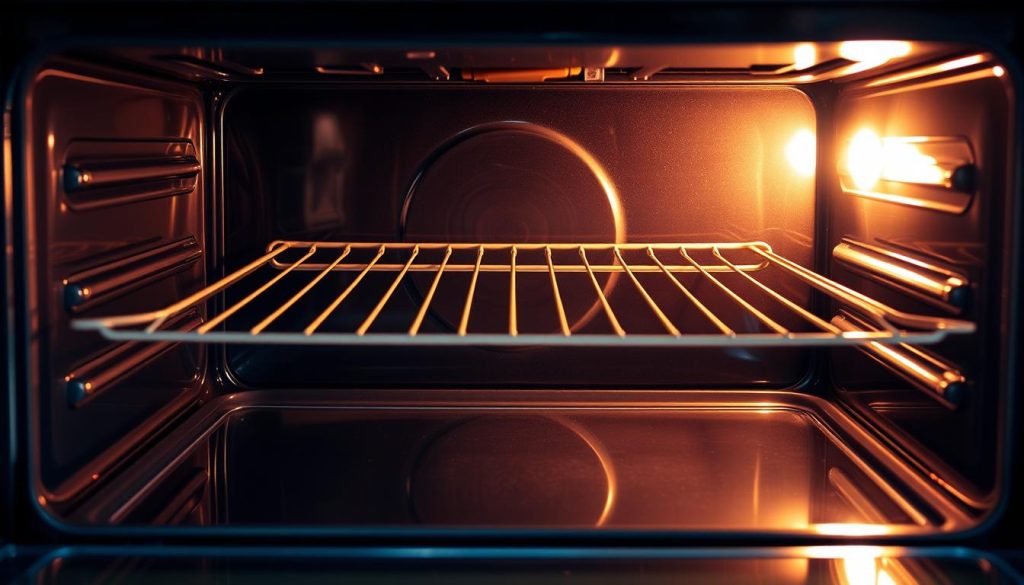
Protect the window with a plastic scraper
Use a barely damp microfibre and a drop of soapy water to lift splatter on the glass. Keep moisture away from door seals to prevent water from tracking between panes.
Scrape remaining specks using a plastic scraper held flat. Glide gently so you shave residue without scratching.
Polish and final checks
If a faint film remains, spritz a glass-safe product and buff dry for streak-free clarity. Wipe external panels with a mild cleaner, avoiding control panels and display seams.
- Follow the grain on stainless steel; a light oil gives a fingerprint-resistant shine.
- Ensure the interior is free of product and excess water so first heat-up won’t smell.
- Dry racks and slot oven racks back once the cavity is fully dry; confirm they move smoothly.
“Gentle, precise finishing protects every surface and makes deeper services less frequent.”
Conclusion
, Small, regular checks stop stains from setting and save hours later.
Follow simple step markers and sensible timing for a reliable way clean oven approach that fits busy UK homes. Wipe fresh spills once cool to stop food carbonising and to avoid long scrubbing sessions.
For heavier work, apply a baking soda paste and allow patient hours or overnight for it to act. Schedule soaking time for racks so you reduce manual effort and keep oven racks moving freely.
In short: warm, apply, dwell, lift debris, rinse with minimal water, dry and reassemble. This method turns one big job into a few easy steps so cooking stays pleasant and odours fade.